Here’s a clear, step-by-step guide for measuring your blood pressure at home safely and knowing when it’s a real concern:
🩺 How to Properly Measure Blood Pressure at Home
1. Choose the Right Device
- Automatic upper-arm cuff is preferred over wrist or finger devices
- Ensure it fits your arm size
2. Prepare Before Measuring
- Sit quietly for 5 minutes
- Avoid caffeine, smoking, or exercise 30 minutes before
- Empty your bladder if needed
3. Position Yourself Correctly
- Sit with back supported and feet flat on the floor
- Arm should be at heart level, resting on a table
- Keep arm relaxed, not tensed
4. Take the Reading
- Place cuff on bare skin, not over clothing
- Start the device and stay still
- Take 2–3 readings, 1 minute apart
- Record the average
5. Track Your Readings
- Keep a log with date, time, and readings
- Compare over days/weeks, not just a single measurement
⚠️ When to Worry
Seek medical attention promptly if:
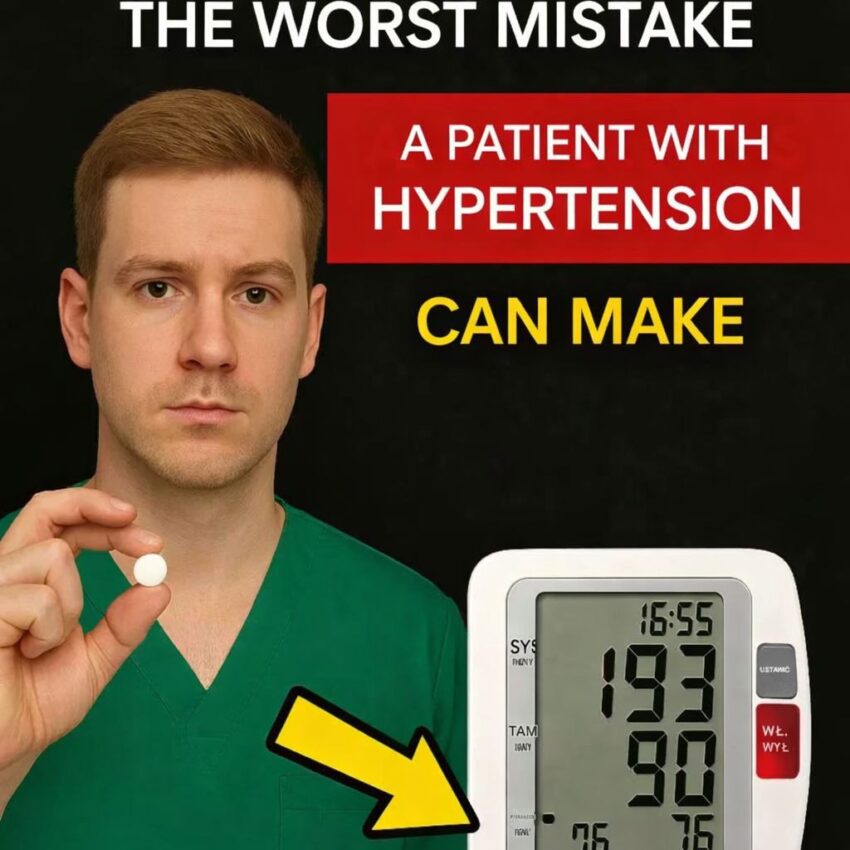
- Systolic ≥180 mmHg or diastolic ≥120 mmHg (hypertensive crisis)
- Sudden dizziness, chest pain, shortness of breath, or vision changes accompany high readings
- Persistent high readings over several days (e.g., ≥140/90 mmHg for adults)
Normal ranges (for most adults):
- Normal: <120/80 mmHg
- Elevated: 120–129/<80 mmHg
- High blood pressure (Stage 1): 130–139/80–89 mmHg
- High blood pressure (Stage 2): ≥140/90 mmHg
💡 Tips for Accuracy
- Measure same time each day
- Avoid talking or moving during measurement
- Calibrate your device periodically
If you want, I can create a step-by-step visual guide for home blood pressure checks that makes it even easier to follow. Do you want me to do that?
